Integrate Your WordPress Website to BOMA with Zapier
We’re here to help you streamline your workflow by connecting your WordPress website to BOMA using Zapier.
Integrating your WordPress website with BOMA through Zapier offers a seamless way for accountants to share blog posts automatically. This powerful connection streamlines your content distribution by seamlessly publishing articles on the BOMA platform to your WordPress website blog. This integration not only saves you time but ensures that your website blog will be kept up to date with the latest insights and valuable information for your readers.
If you don’t have a paid Zapier account you can find the guide for content delivery via a free Zapier account here.
Follow these simple steps to get started and automate your Blog posting process.
Step-by-Step Guide
Go to www.zapier.com and log in to your account.
To create a Zap click on Create in the left-hand menu.

Click on Trigger.

Search for BOMA

If you can’t find BOMA, connect manually via this support link.
Or click on a link from BOMA to add it, and then you will be able to find it in the Apps.

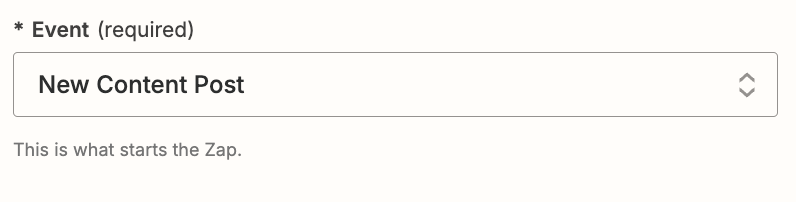
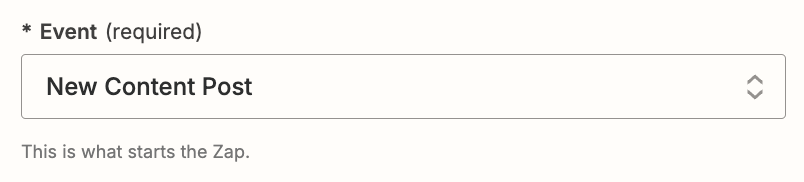
Choose the type of event you want to create New Content Post.
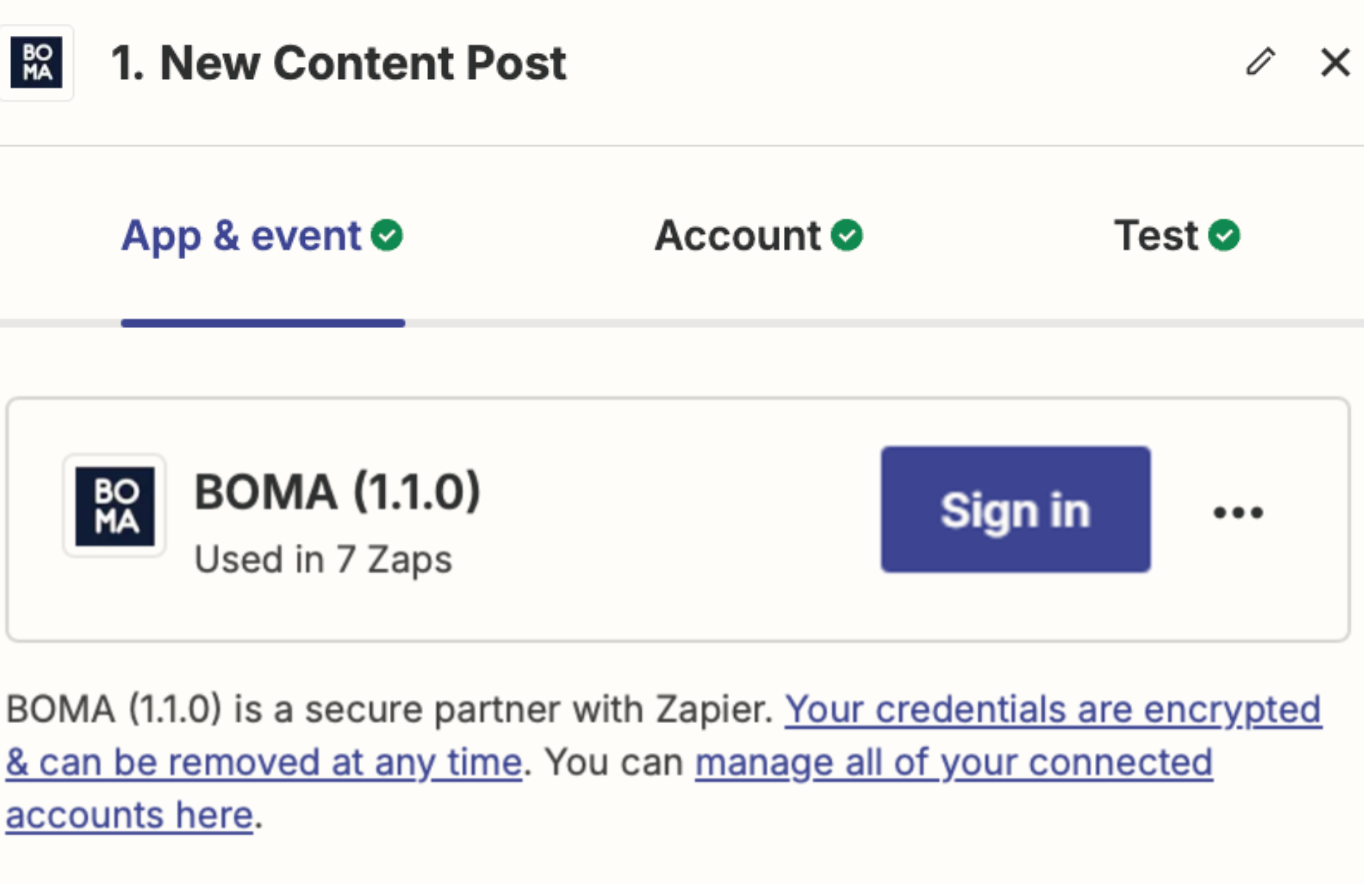
Then, you will need to link your BOMA account to the Zap.
Click on the Account and choose Sign in
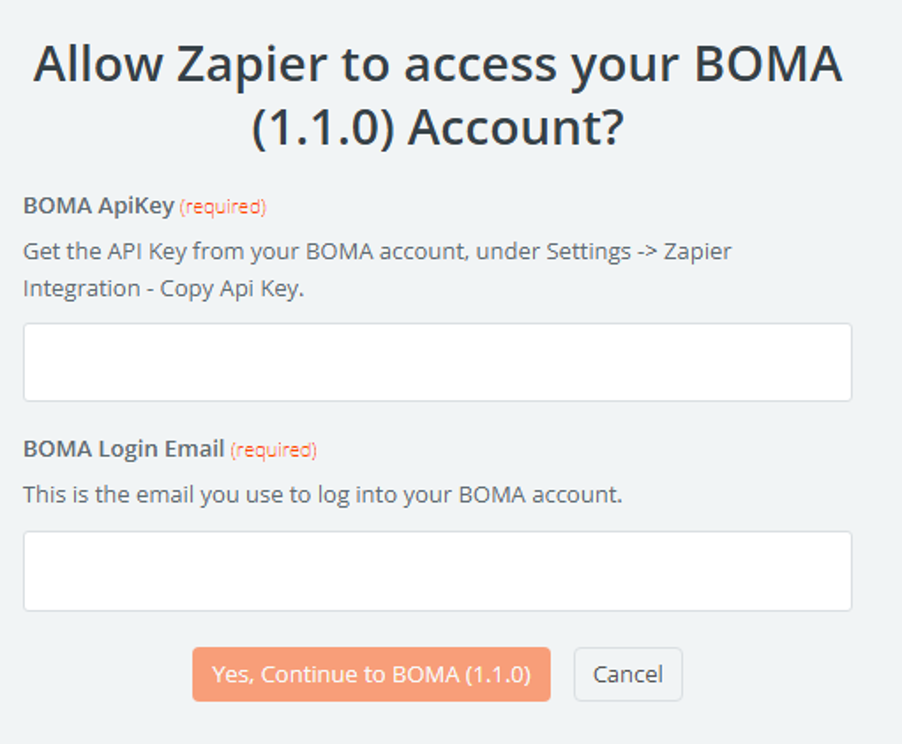
A popup will appear.
Enter the API key and the email you use to login to BOMA and press the Yes continue button.
A connection will open the Zap with the Action field ready to edit
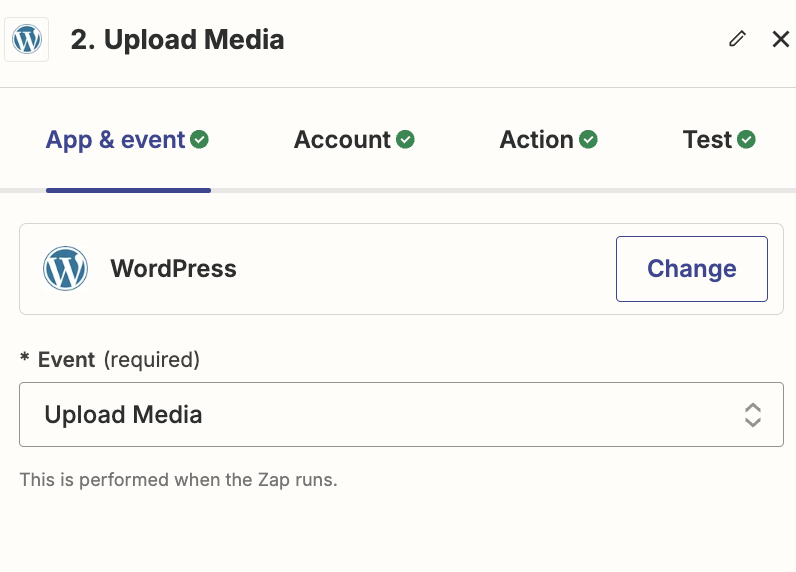
In the Action Event dropdown choose Upload Media then click Continue.
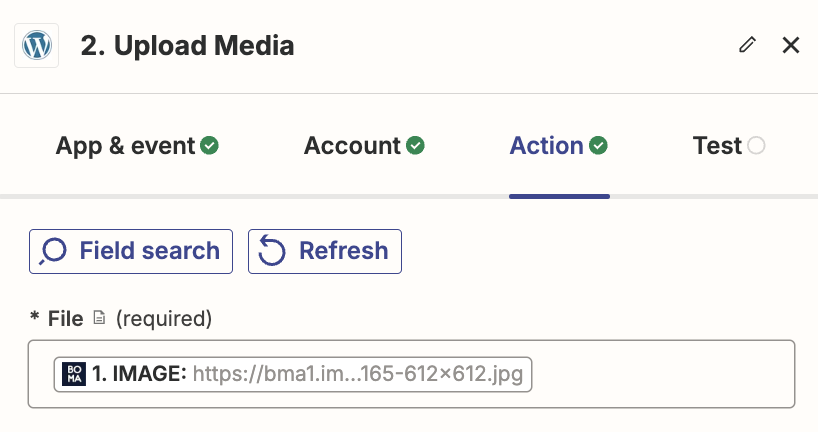
In the following Set up action step choose the File dropdown, choose the Image field from the BOMA post.
You may need to click Show all options in the menu.
Next run a test to ensure that the media file can be uploaded to Woredpress.
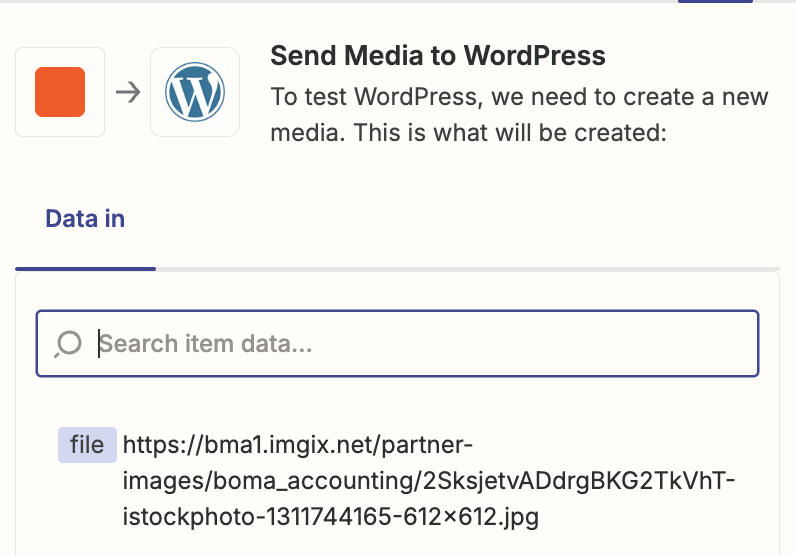
A successful test will display the following message.

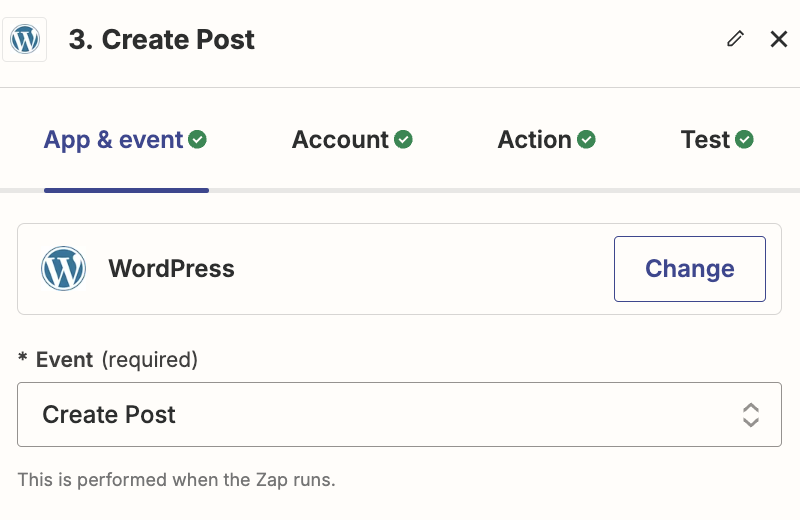
Now that we’ve successfully completed the upload step, we can add the Create Post action step.
Now you need to map the information from BOMA to specific fields in the WordPress post.
We will connect the fields for the WordPress Title, Content, Excerpt and Status fields.
The remainder of the fields are optional and do not necessarily map to any content in the BOMA post.
In the Title dropdown, choose the Title field from the BOMA post.

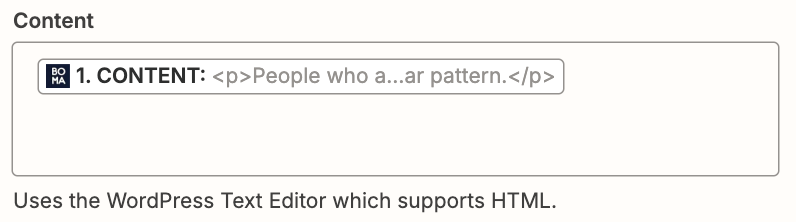
In the Content dropdown, choose the Content field from the BOMA post.
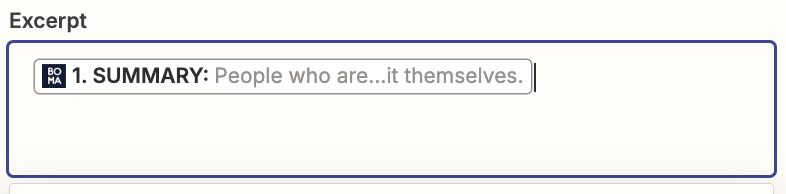
In the Excerpt field, choose the Summary content from the BOMA post.
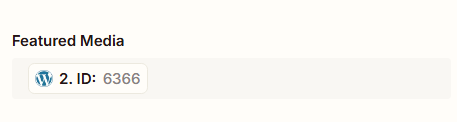
Next is the Featured Media, for this option you will choose the ID that was generated from Step 2 in your process. This will have an ID that is unique to your test run, and will be updated by WordPress/Zapier each time it runs. It will look similar to this with a different ID, the ID is unique to your account and your test run:
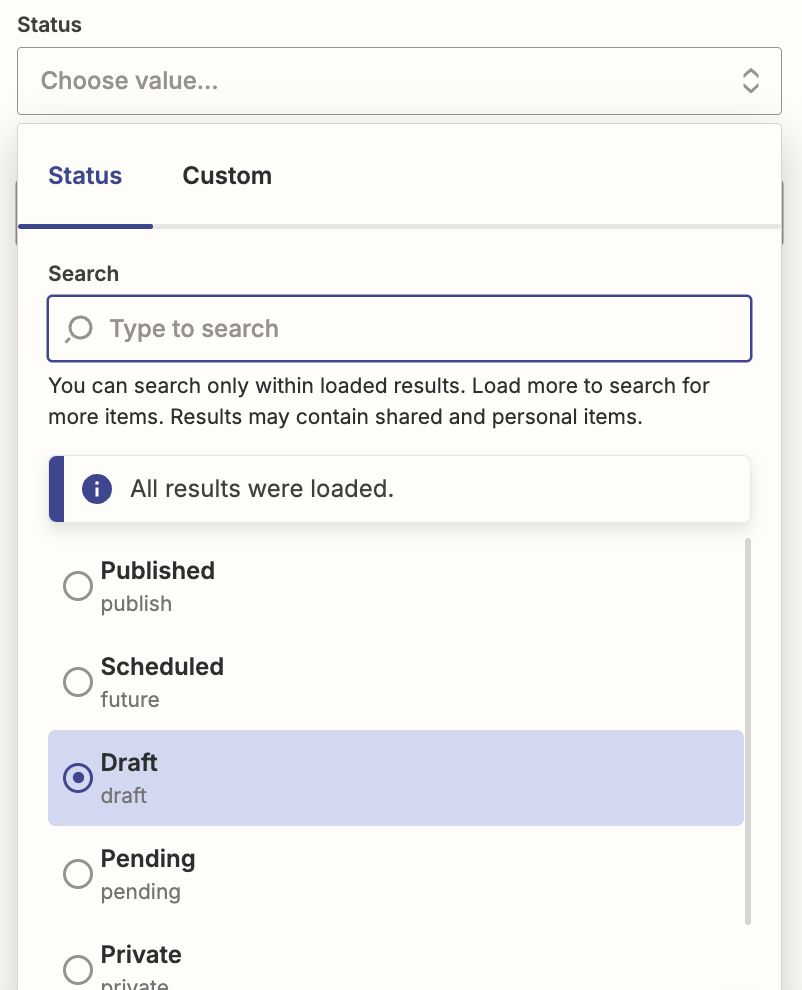
The Status field should be changed to the status you would like the post to be in when it’s created by the Zap.
We recommend setting this to Draft so you can review the post in the WordPress Admin before you publish it manually.
If you are confident in how the Zapier workflow is working you can change this field to Published to have the post published automatically.
When you are ready to test open the Content Library in your BOMA account and select an article to share for the test and click the Send to Zapier button.
Return to Zapier and then click on Test Step.
This will test the integration with WordPress and create the Post (in Draft or Published format depending on your selection), so now is a good time to check the WordPress admin for the new post.
A successful test will return this message.

Click the blue Publish button to save your zap or Retest step if necessary.

Congratulations! You’ve successfully connected your WordPress website to BOMA using Zapier. You can now send content from the BOMA platform to your WordPress website as a blog post.
